

The light can literally make or spoil your image.
If you have a nice-looking dish but you shoot it in a bad light, respectively it will also look bad. And vice versa: shoot a ugly dish in a good light and it will ‘wow’ you.
The same applies for when you take a selfie – without makeup and with a bad haircut but with a nice light: the result will be good. But nothing can save you from the bad light.
Without the proper light it is impossible to take good shots. Light is an important power and I will help you use it properly.
Diffusers
The diffuser is something that distributes the light more evenly over the object. It is placed between the light source and the subject you are shooting. With this, you have less pronounced shadows and a softer light.
You could use a plain white sheet or even baking paper which will serve you well for the role of diffusers.
Reflectors
The reflector reflects the light that comes from the light source onto the object we want to photograph. It is usually placed on the opposite side of the light source.
• When using a white reflector, it will add more light to the scene or subject and make the shadows even softer.
• When using a reflector in black, it will absorb the light and will not allow it to return to the object of shooting.
For a reflector, once again you can use things that you certainly have in your home – such as aluminum foil or a plain white or black sheet of paper.
Finding the right light
You think that there is not enough light in your home for shooting? Well, I have good news for you. that in order to take a picture you simply need to look for any light. Even if it is limited, there is light in every home. You just have to find it.
The first thing you need to do is walk around your home. Don’t think that all food photographers shoot only in their kitchens. While walking around, pay special attention to the windows. North-facing windows are the ideal option, as they are almost never exposed to direct sunlight that can interfere with the picture. Look for a place with good light and enough space to create a photo scene. If necessary, move around some of the furniture and place a small table, or, let’s say, use a place on the floor that is well lit from the door to the terrace.
Don’t forget that outdoor light is constantly changing, so the light coming through the window will be changing. So perhaps the best place to shoot will be the kitchen during the morning or the living room during the afternoon.
Congratulations! You now have a few ideal places in your home to take culinary photos.
Yellow or blue light?
Whether you are shooting photos of a food or your pet, there is one mistake that many beginner photographers do.
Forgetting to turn off all the lights in the room.
Sometimes when the room is not particularly bright, everyone will just think about turning on the lights. I would say that this is a bad idea when it comes to pictures. Ceiling lighting will not give you the desired result and will most likely create shadows that don’t look natural and are too dark.
Here, what’s more important is the idea that the light itself has a colour. We’ve all seen pictures that are too yellow or blue. This is related to the white balance setting and is influenced by side factors such as artificial lighting.
The photo you see below is an example of everything written above. It is one of my first in this field (indeed most likely the first one) before I start reading about photography.
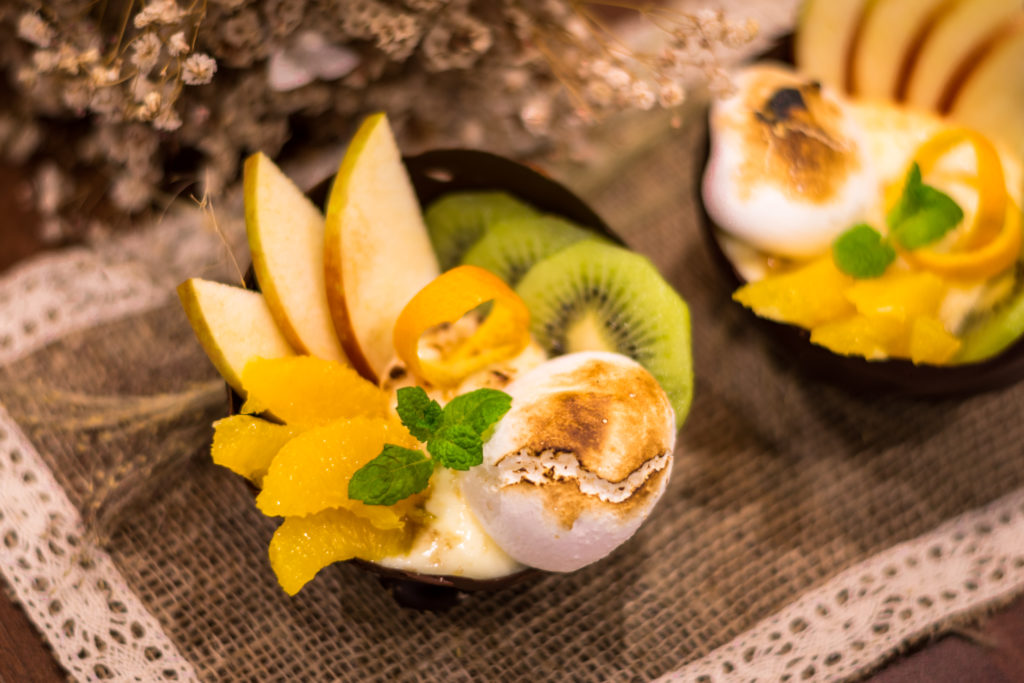
The photo was taken during the evening with lighting turned on. During the day, I was busy preparing little bowls made of chocolate. I used a balloon technique, of course – the bubble burst when I dipped it into chocolate, but that’s another fun story.
In hindsight, I see things differently. Now, I would shoot at a different angle in order to emphasize the chocolate bowls themselves, and I wouldn’t t have taken pictures on switched-on-lighting. I would choose natural light or artificial professional lighting.
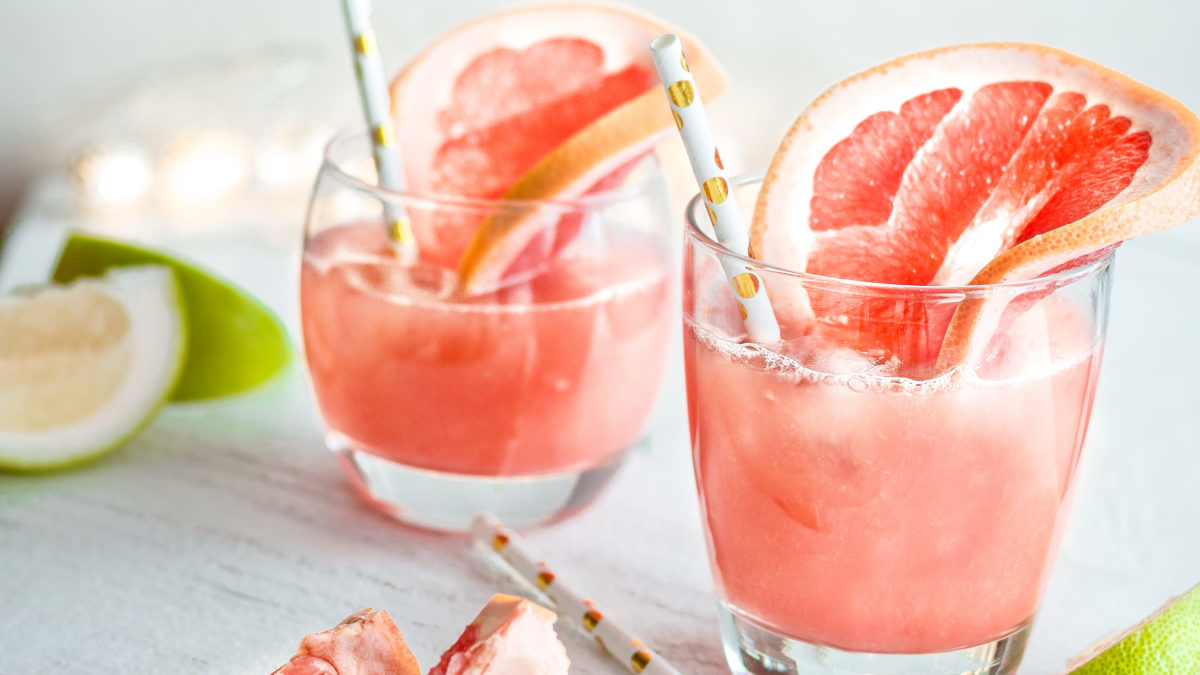
Below you will see a photo taken in natural light. The white looks white, not yellow, right?
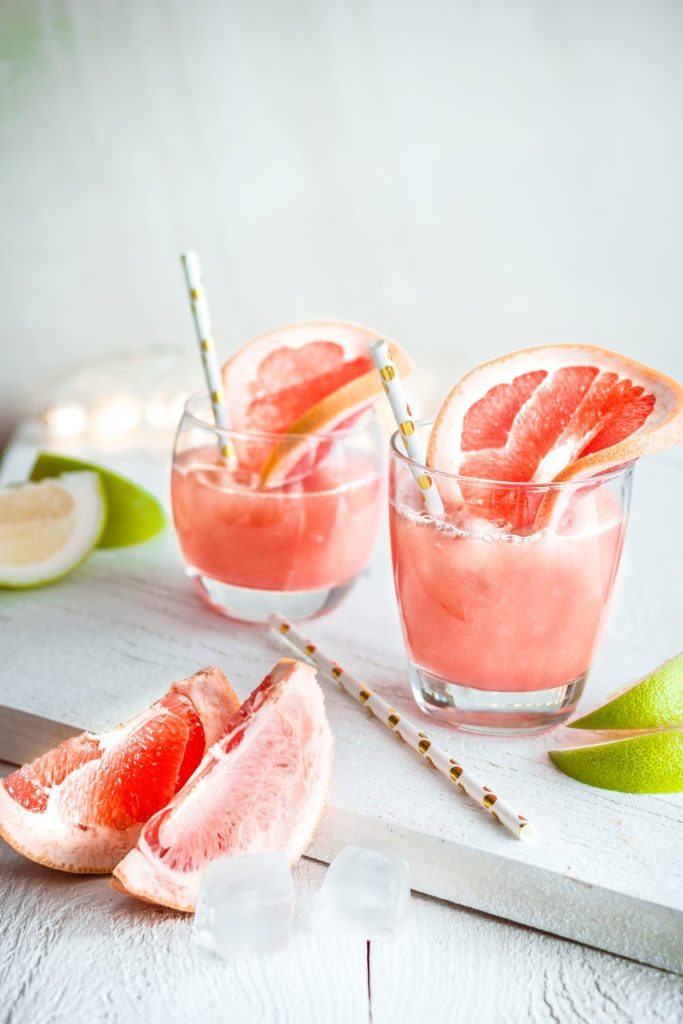
And just some final words of advice – the next time you take out your camera, make sure you turn off all the lights.