

Chia Seeds
Recently, the little chia seeds have been gaining popularity and lots of things have been written about them. Moreover, chia is known as one of the superfoods. It balances blood sugar levels, helps weight control, improves memory and strengthens the immune system. But that’s enough talk about the chia, today we will focus on the composition in the picture.
Every beginner-food photographer needs to know that good composition is the key to good pictures. Of course, there are many more details that need to be addressed, but without good composition, your photo will emerge into the feed of your friends as one of the many in the ‘wave’, only to remain unnoticed. Today I will show you the 5 steps that I make sure I follow when I am taking photos.
Selecting the shooting angle
First, I choose the angle from which I am going to shoot. It all depends on what feeling you want to pass through the picture. For example, if you are taking photos of chocolate dripping over pancakes, you will choose to shoot them frontally (link). In this photo (link), I chose to shoot the sandwiches from above because I wanted to focus on the top of them. If they were shot from the front, it would have been just the crust of the slices that would be highlighted.
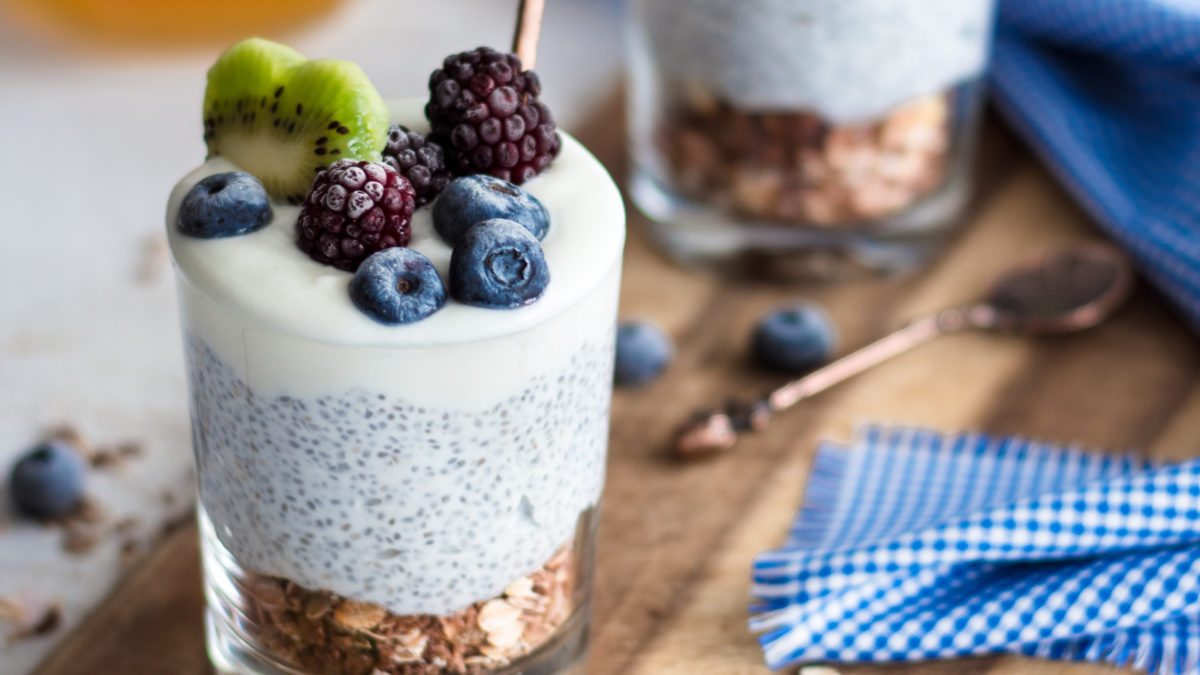
And this photo, I have chosen to shoot it from an angle that can reveal what is in the inside of the glass (I love the look of the little chia seeds) and what will be on the top of it. Once we have a clear idea of what to shoot and from which side to do it, we move to step 2.
The rule of thirds
Many photographers use the rule of thirds. You wonder what is it? Basically, you divide the frame into 9 equal parts using two vertical and two horizontal lines. The places where the lines cross are the strongest points in the picture if you let me put it that way.
Now, I can bore you with endless stories about the Renaissance masters who put their objects there or with rules of the right and left, but I prefer not to do it. The shortest and clearer advice I can give you is simply to place the object you want to focus on the area of the intersecting lines, and that is pretty much enough for a good composition of your photo. Many cameras have an option to show these lines, but I don’t find it necessary to use them. Do it in your mind, approximately and in the way you feel it.
And here we go to Step 3:
Adding more items
So far, I have the angle, I have the focus, but there is nothing in the focus area to “fill the eye”, so to speak. I’ve decided to add some fruit that would be seen at first glance. Besides over the cups, I have put a few of them on the sides, just to fill the frame.
By saying to fill the frame, you may see that I have put a lot of items, such as the blue cloth that slightly goes out of the frame but is present both in the front and back of the picture. Another element is the honey jar and the spoon on it in the background, the scattered muesli, the tat under the board.
I’ve decided the picture to be in the blue-green colour range because the fruits I’ve used are blue and green, not red raspberries for example. To make it more interesting, I’ve cut the kiwi in the shape of a heart. I use the rule that all culinary photographers talk about – play with your food.
There is nothing random in the photo. You need to remember that every small element is important. Of course, it is not necessary to have that many elements in the picture, that is simply part of my decision and style. I advise each of you to find your own style and make your pictures recognizable. And in the perfect case, I would have stopped here. If .. oh, no!
Going to Step 4!
Changing the shooting angle
At the last moment, I decided that the angle is not good because I want a bigger part of the fruit over the yoghurt to be seen. I change the angle by lifting the camera slightly upwards and again follow the rule of thirds.
Here I just want to say that you should limit yourselves to one type of composition only. Make a few different ones and then use the one you like the most.
And going to number 5, which is an absolute must in my opinion – the photo editing.
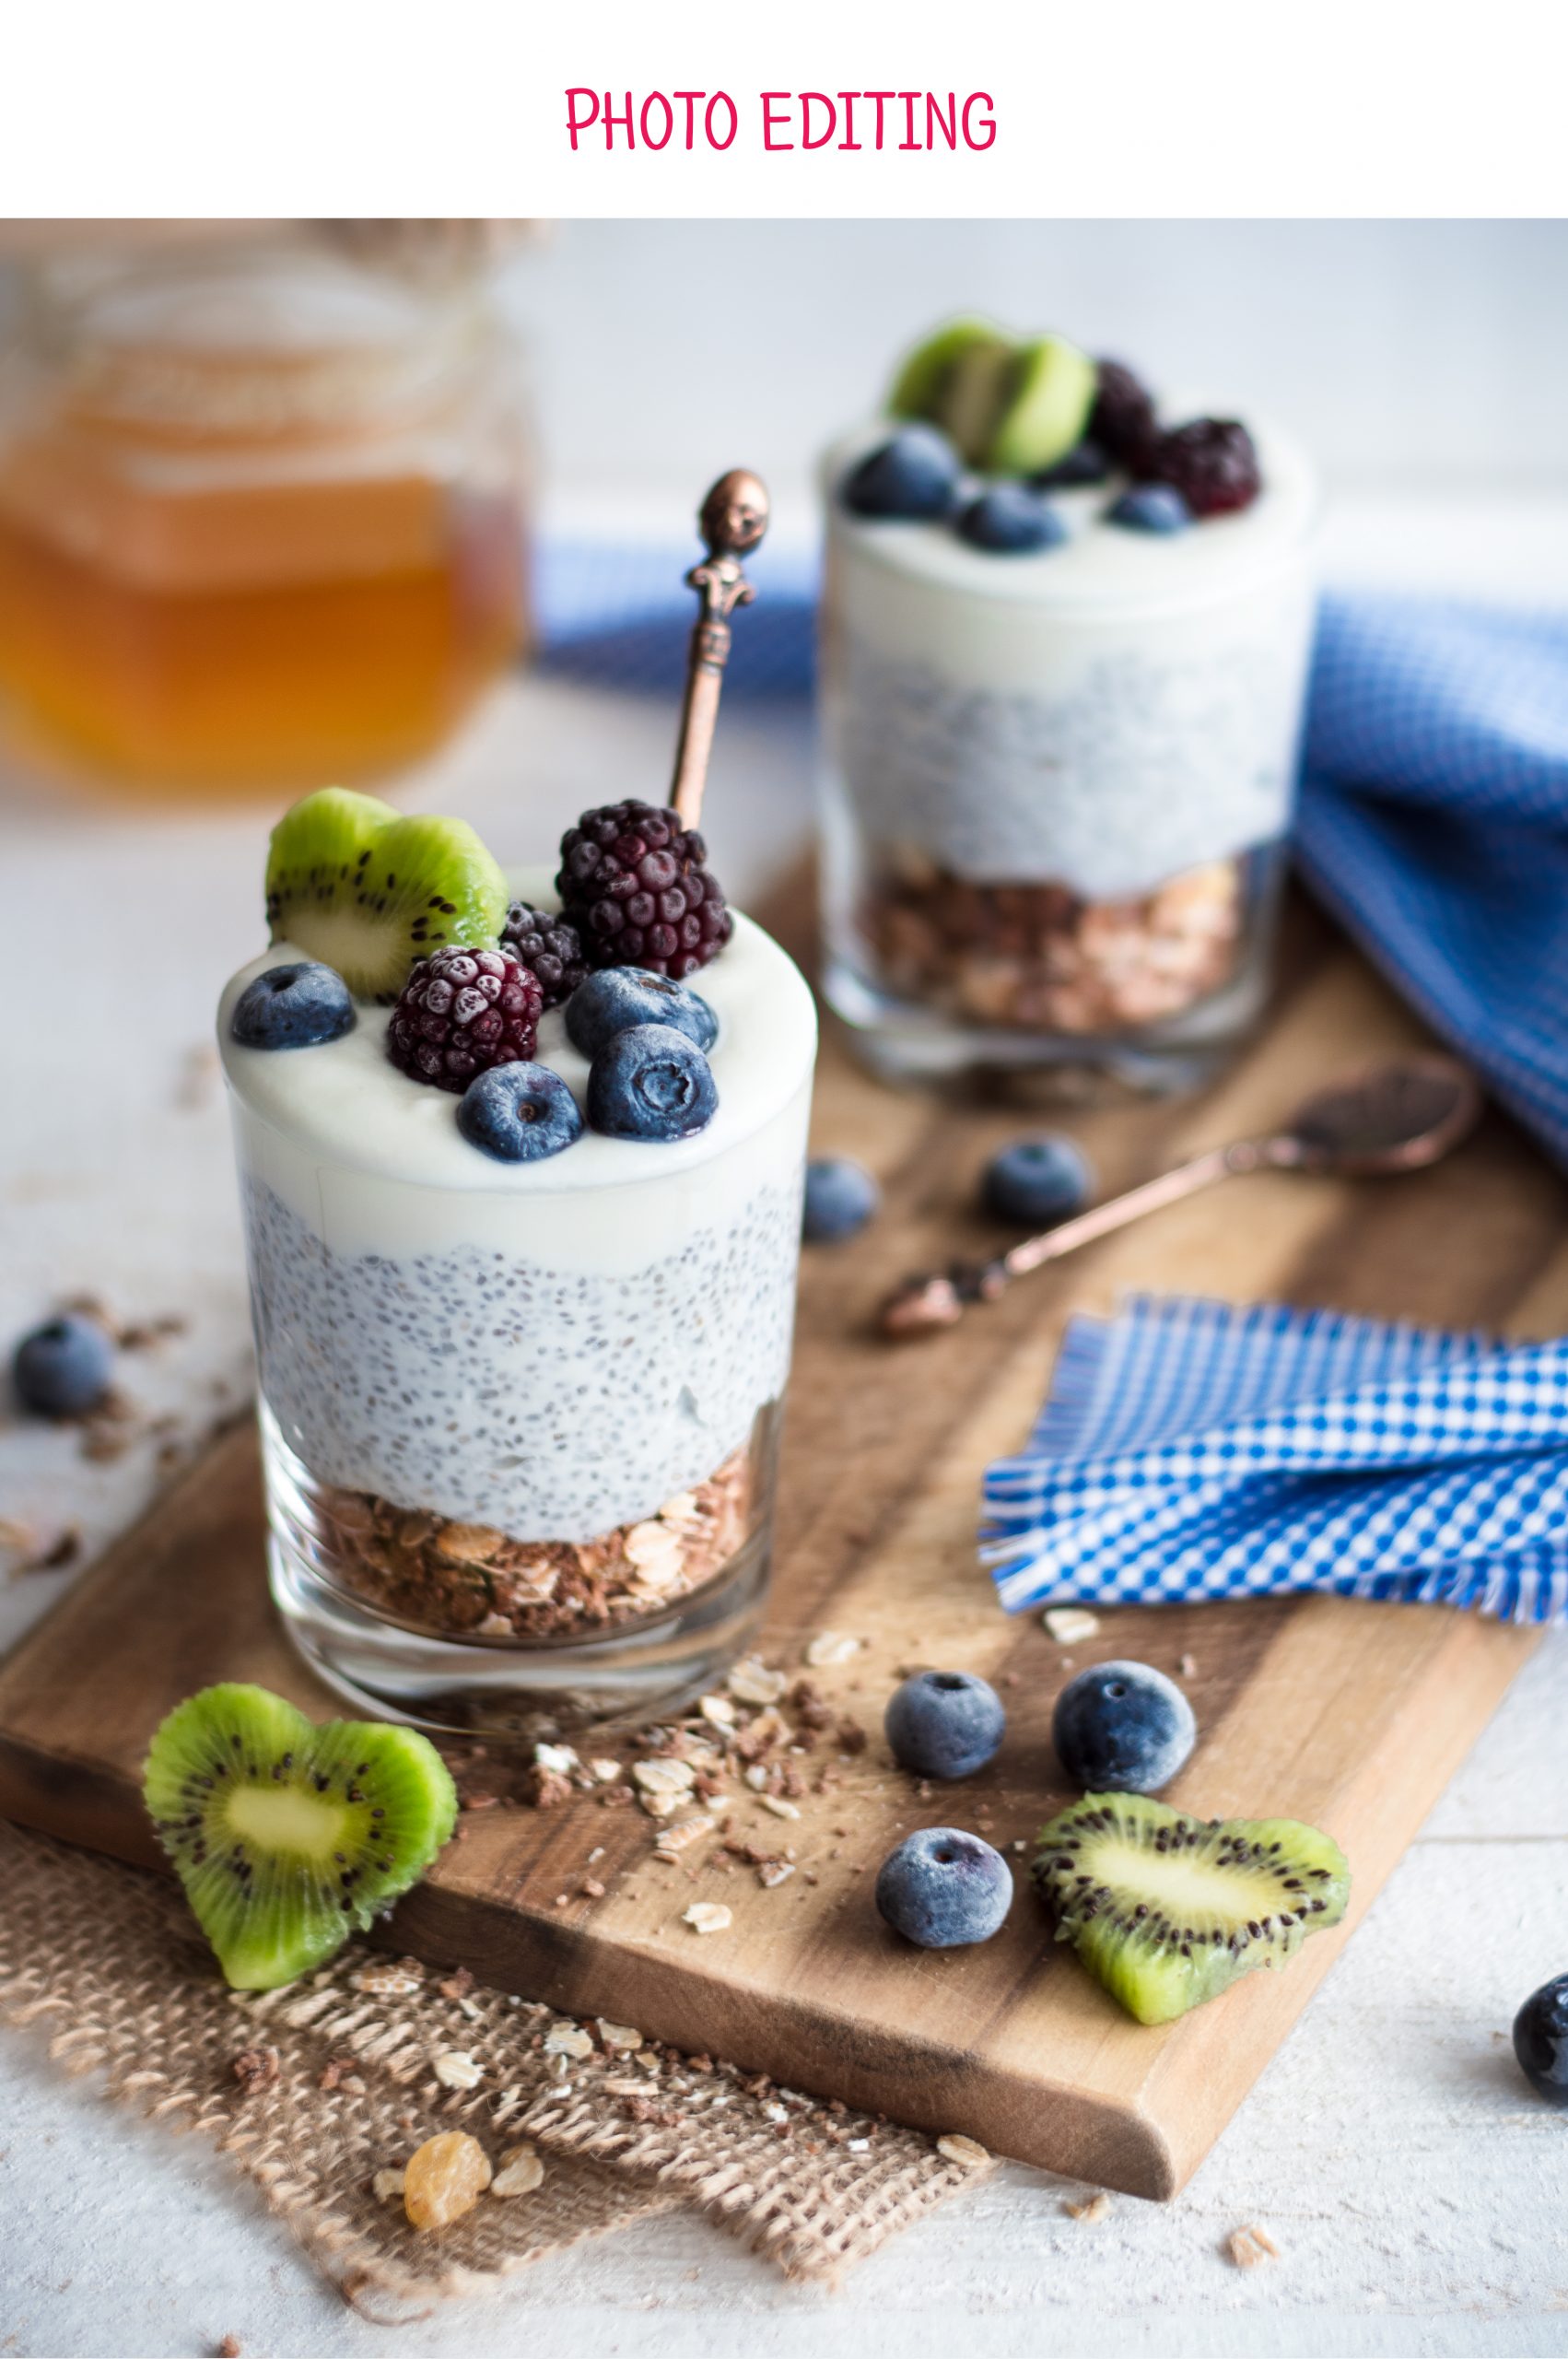
Photo editing
I’ve always said that the taking of a picture is only half of the job. I have all my photos edited before they are published.
Here I have also uploaded unedited photos and yes, they don’t look bad, but with the edit, we take the picture to another level. I’m still considering a way of showing you how to process a photo and I might post a video about that in some of my next posts. It isn’t necessary to use Photoshop or Lightroom for photo editing, and in fact, for many people, these are sophisticated programs. Nowadays, our smartphones have easy-to-use software such as cropping, colour enhancement, and contrast. Moreover, Instagram offers ready-made settings that you can use before posting a photo and it usually gives good results.
Well, that’s enough for today. I hope you’ve found this article useful. I am wishing you a smiley, even if it’s a bit chilly, day.