

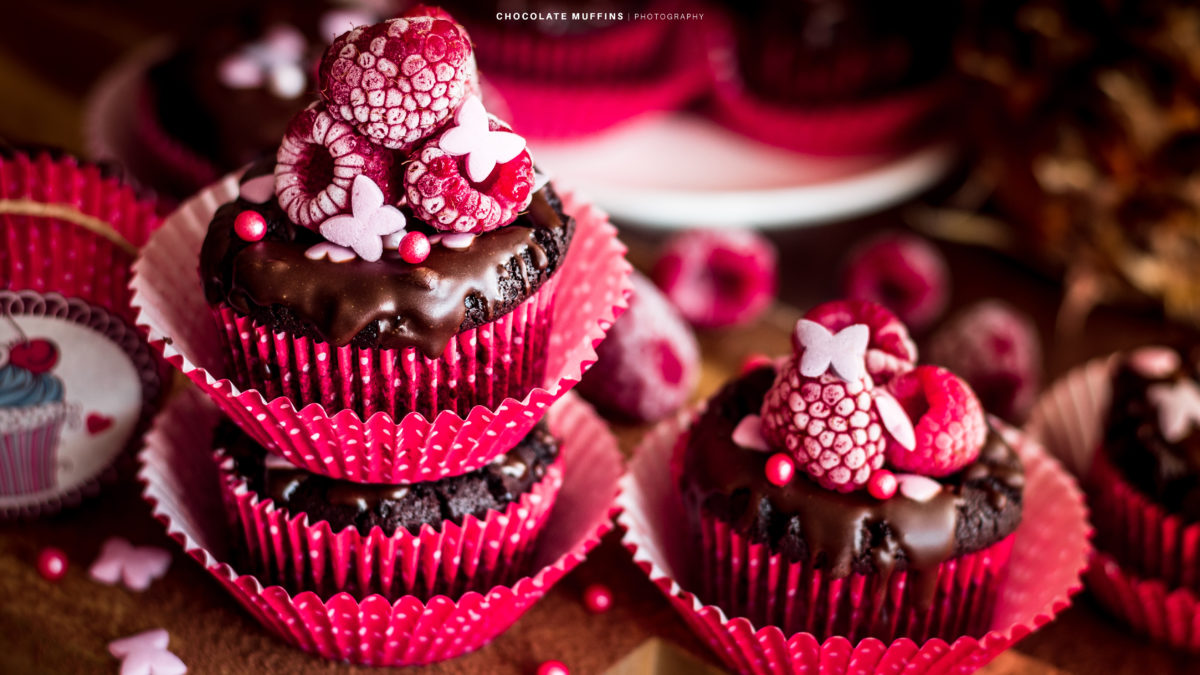
These are definitely the easiest chocolate muffins you can make. I always bet on easy recipes, because I love shooting photos of dishes more than cooking them. And by saying easy, this doesn’t mean they are not delicious. The following are definitely one of the most delicious chocolate muffins I’ve ever tried. They have a very saturated chocolate flavor and are incredibly juicy.
The products required for these chocolate muffins are as follows:
• 100 g of natural/dark chocolate
• 150 g butter
• 50 g cocoa
• 150 g sugar
• 1 tsp. vanilla extract
• 5 eggs
Method
First, melt the chocolate and the butter in a water bath.
When they’ve melted, add the cocoa, the sugar, and the vanilla. Once the sugar melts, pull it out of the fire and add the eggs one by one. Make sure the mixture is not very hot when adding the eggs.
Now you should have a ready mix that fills 12 paper molds for muffins, placed in a muffin tray at 1/3 of their volume.
Bake them in a preheated 170-degree oven for about 15 minutes.
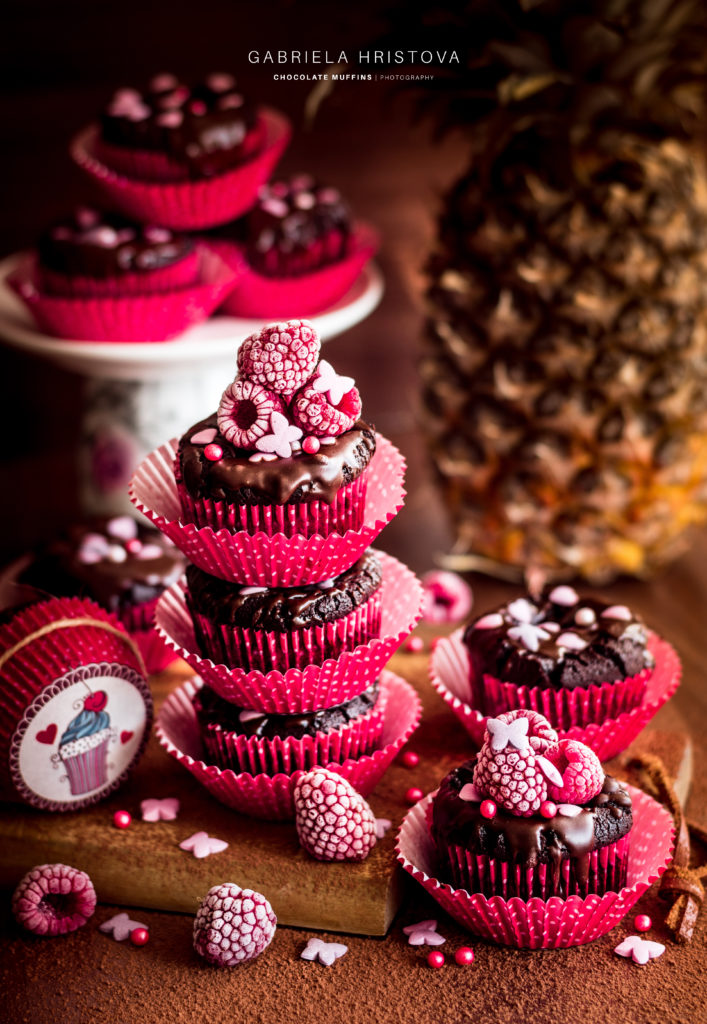
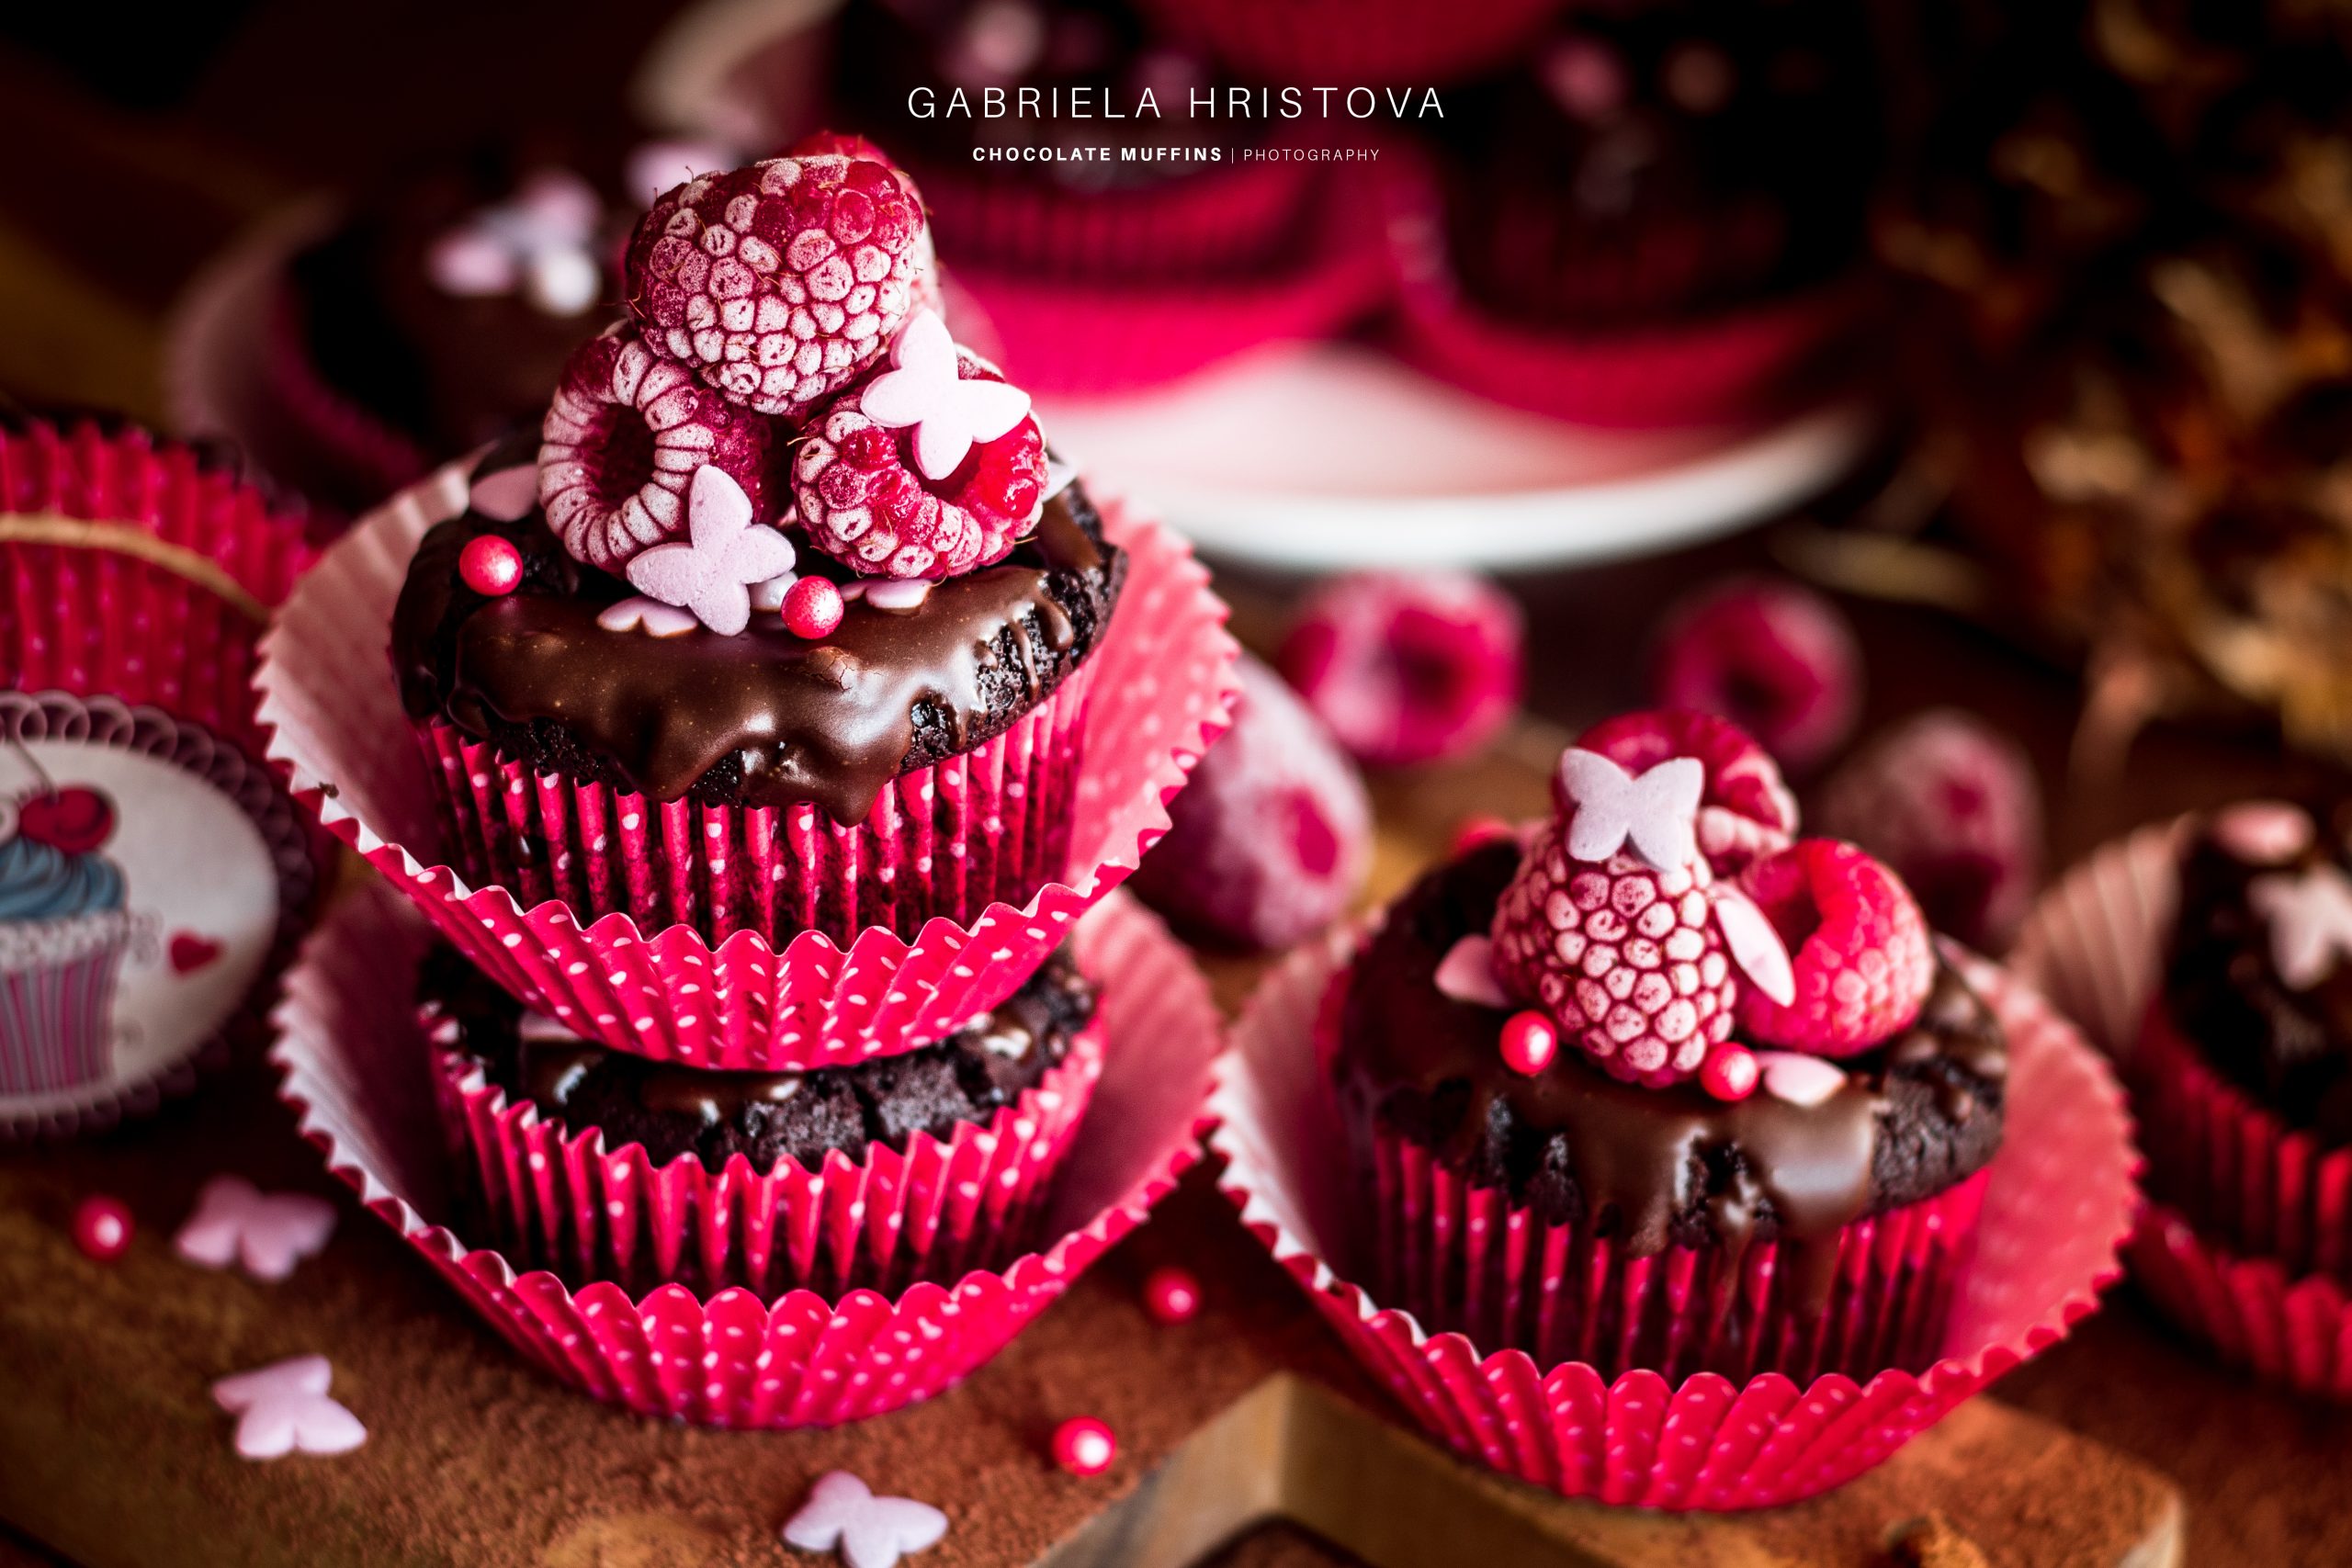
The result of these cakes is the smile of your favorite people and a wonderful scent throughout the house. You see how I’ve decorated my photo. If you want, you can make and add some cream to them, but I think they’re perfect just as they are and need nothing but a little chocolate on top.
How do we take photos of chocolate muffins?
In this article, I will focus on the photos of chocolate muffins. Food photography is indeed part of photography, and all the rules of composition, colours, light, foreground, and background that would be used when shooting, let’s say, a portrait or a landscape, apply for culinary photography as well.
Speaking of rules – the most important thing is knowing the camera. Of course, a lot of practice is required for good photos, but before the practice, it is important to take the booklet of your camera to familiarize yourself with the basic camera mechanisms.
Aperture
The aperture of the camera is the mechanism that determines how much light will ‘touch’ the sense of the camera when it’s opened. The more open it is, the brighter your photo will become.
The opening of the aperture is also responsible for “blurring” the background and the provision of a depth of the focus. The blur depends entirely on the lens you own and the settings of the aperture.
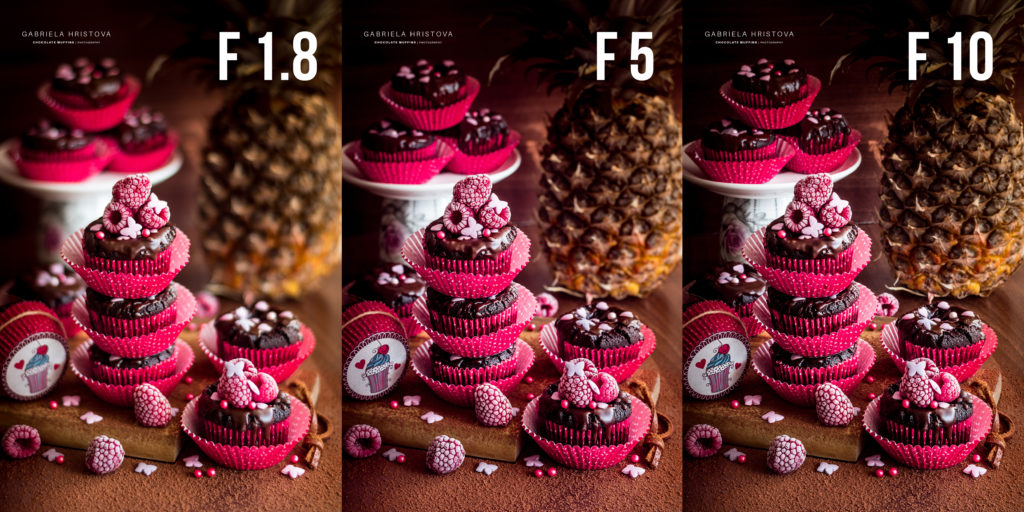
The aperture opening hole is marked with numbers. The smaller the number, the more open the aperture is. Values may range from 1.2 to 32. Below, I have picked 3 photos with different aperture values so you can see how the background changes.
Shutter speed
The aperture and shutter speed values of the camera are dependent on each other. “Shutter speed” is the time for which the shutter opens during exposure. It is usually measured in seconds or parts of the second.
The shutter speed value is responsible for the photo’s brightness – the faster it is, the darker the picture will be and vice versa – the slow shutter speed will increase the amount of light that will reach the photosensor and the photo will respectively turn out brighter.
In the case of the photo above with F1.8 aperture value, the shutter speed is 1/160 (from a second). Therefore, when the opening of the aperture is reduced to F5, the shutter speed will need to be increased, otherwise, the picture will turn out dark. In our case, the 1/60 has given good results along with F10 at 1/10.
It is recommended, if not even mandatory, to use a tripod for slower speeds, for example below 1/125, as my experience shows.
I hope this article has been helpful to you. Have a wonderful day!